

Ever since I started posting videos on sailing without an engine my sculling oar has been getting a lot of attention. One problem people run into when working out a sculling oar arrangement for their boat is that the size of the oar required for the job is far larger than anything you will typically find on the shelves of most chandleries. My 31-foot cutter, for example, requires an oar of around 14 feet in length. But with suitable lumber, a saw, wood chisel, and plane, an oar can be a fun project that requires only a modest amount of woodworking skills. The oar I build in the photos is for the dinghy and is made of ash. I would not recommend using ash for oars, but something lighter like spruce or Douglas fir. My current sculling oar (I’ve lost two of them overboard …) is made of Douglas fir.
We start off by cutting out the shape of the oar with blade, that is, the projection of the oar onto a board with the blade parallel to the board (see photo above). If you cannot find a board thick enough for the oar you wish to build, you can laminate the cut-outs together. My sculling oar is made from three 1″ Douglas fir boards glued together.
Next we cut out the grip. Everything is square now, we will round later.

Now let’s put the taper into the blade. The best way to do this is to saw into the blade, transverse to the oar, down to the taper marks on each side of the blade. Make these cuts at about one inch intervals, then use your wood chisel to hack away the wastage. Hopefully the photo below will make all of this clear:

Then we will use our carpenters plane to smooth the taper. After that we will revisit the blade with our chisel and plane to taper the edges, so that the blade drops into the water cleanly.

Now back to the grip. We will round both the grip and the loom (the shaft, the round part of the oar) using the same method. First we turn the square into a octagon (stop sign). This requires a bit of algebra to get exactly, but roughly you want to draw lines about one quarter of the thickness of the square shaft in from each corner of the square. So for a three inch thick loom–now square, three inches on a side–draw your lines slightly more than 3/4″ from each corner so that you leave 1-7/16″ untouched when you chisel and plane the edges off.

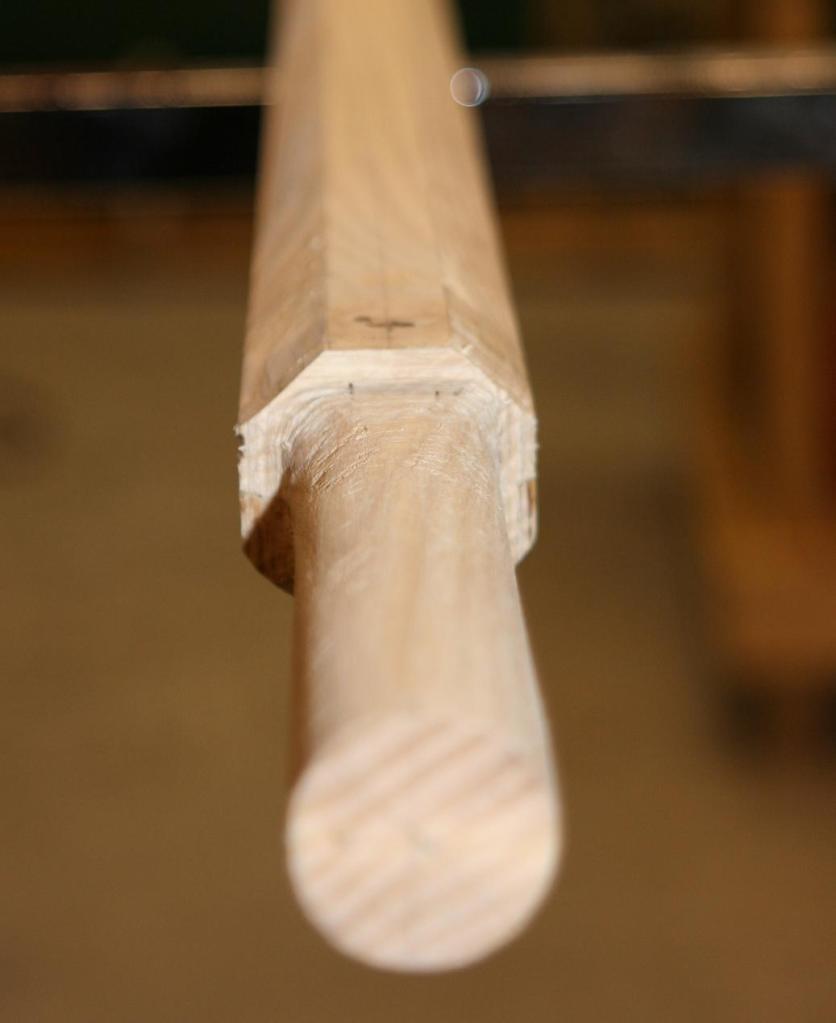
As with the blade, we use our saw and chisel to cut away the wastage and turn the square into an octagon. Here’s the partially completed grip as an illustration:

Then we use our carpenters plane to turn the octagon into a sixteen-sided figure. For small oars we can do this by eye–plane down until all the sides are approximately the same width. Finally, to get the loom perfectly round, we glue (contact cement) some heavy sandpaper inside of a half pipe of PVC and sand …

Then we give everything a thorough sanding and our oars are ready for some varnish, or paint if you prefer:

