

I have rowed inflatable dinghies for years and I still keep my Avon Redstart lashed down on the cabin top as a backup dink, but that said I have since chosen a hard dinghy as my primary means of water transport when anchored out, which is most of the time. And a well designed hardshell dinghy doesn’t just look nice, it has several distinct advantages. For one they row a hell of a lot better than inflatables, at least any that I have rowed–or attempted to row. They will have far more interior volume for size since so much of the inside of an inflatable is taken by the air tanks. In general they tow much better, and you can sail them too. And lastly they are not prone to perhaps the most annoying ailment which all inflatables sooner or later contract: air leaks.
As far as disadvantages go, well, they can capsize and swamp, and they are particularly unforgiving to those who try to step into them via the gunwales. If they are wooden like the one I have built, they require a fair amount of maintenance. And finally for those of us cruising on smaller craft, they cannot be folded up for easy stowage. I measured very carefully before building the 7’7″ Nutshell Pram. I finally managed to find a space for it on the foredeck when overturned.
OK, so let’s get started. I purchased the plans for the 7’7″ Nutshell Pram from the WoodenBoat Store (www.woodenboatstore.com), along with a small booklet which provides step by step instructions on how to build it. We start off by constructing the laminated midships frame along with the forekeel. The plans provide a full scale drawing of these frames, but before laminating we have to make a jig out of cheap plywood. We then use 1/8″X1″ strips of Douglas fir for the actual laminates. These are slathered with epoxy and then clamped to the jig (on the outside), as shown below:

Word to the wise: don’t try to save time by making the laminates thicker than about 1/8″. I tried this and was met with heartbreak the following morning when I found several of the strips had cracked around the chines and now it was all permanently glued in place … so anyway, once the epoxy has cured we remove the laminates from the jig (note the waxed paper to prevent it sticking to the jig) and cut out midship frame to match the plans, similarly with the forekeel. Here are the completed items:

Notice that the midship frame still extends above the gunwale and a 1″X3″ cross piece is attached in order to hold the midship frame to the moulding jig. The moulding jig is built like a ladder, made of generic two-by-fours, where the moulds–plywood cutouts–are attached at specified intervals. Also the bow and stern transoms, made of 3/4″ Okoume marine plywood, are cut out and attached to the jig.

Now we have to do some lofting–i.e., translate the plans to actual plywood cutouts of the bottom and planks. This is done by turning the 4’X8′ sheet of plywood into a grid and measuring up from one edge to the sides of the planks and marking it with a dot. Notice I use a wooden batten held in place by small nails in order to draw a smooth curve through the dots on the plywood.

After cutting the planks and bottom out of the plywood, we are ready to start planking. We begin with the bottom, which is 3/8″ Okoume, and is stiff enough to put up a fair bit of resistance to the gentle curve, hence the lead weight on the forward end. The bottom is attached to the forekeel, midship frame, and stern transom with bronze wood screws and West System epoxy.

Next up the garboard planks. We use a bevel plane on the bottom until there is a snug fit against the overlapping garboard planks. Again the planks are attached to the bow transom, forekeel, midship frame and aft transom with bronze screws and epoxy. We use drywall screws to hold the planks against the bottom while the seam cures with epoxy, thus insuring a strong, watertight join. Afterwards the drywall screws are removed and the holes filled with epoxy.

Next repeat the process for the middle planks:

And lastly we add the sheer strakes:

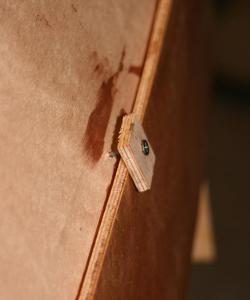
As I planned to keep the sheer strakes varnished I did not wish to drill them with holes for the temporary drywall screw, so I constructed little buttons to hold the sheer against the middle planks:
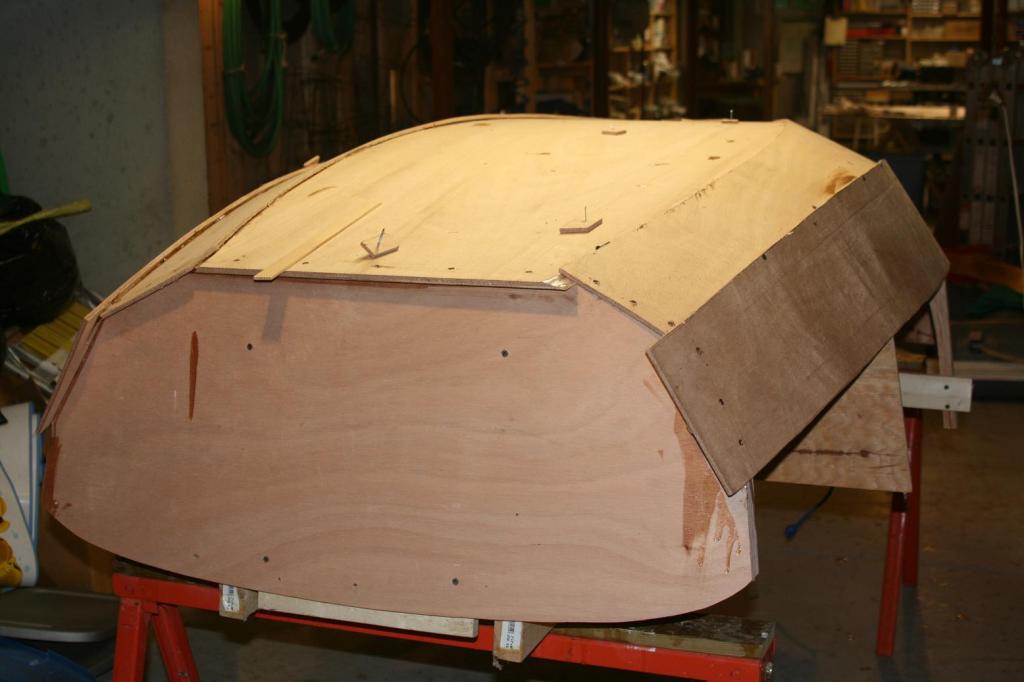
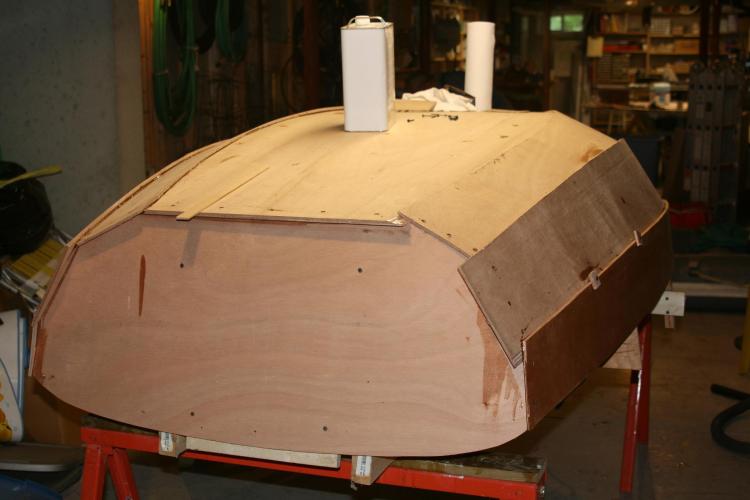
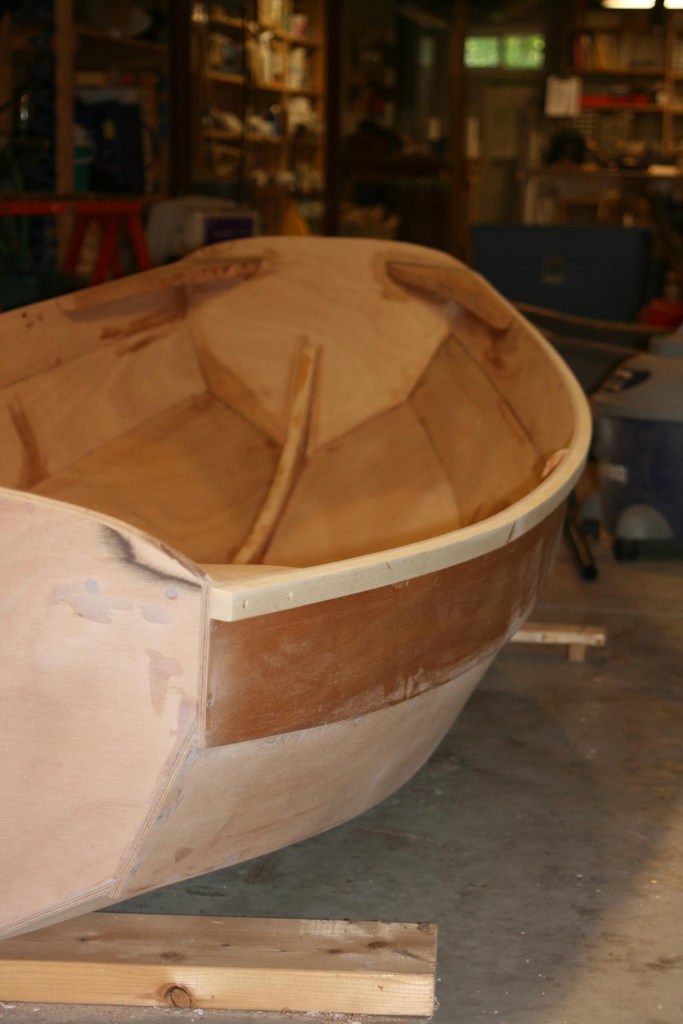
Now the boat is ready to be lifted off of the jig and turned right side up:

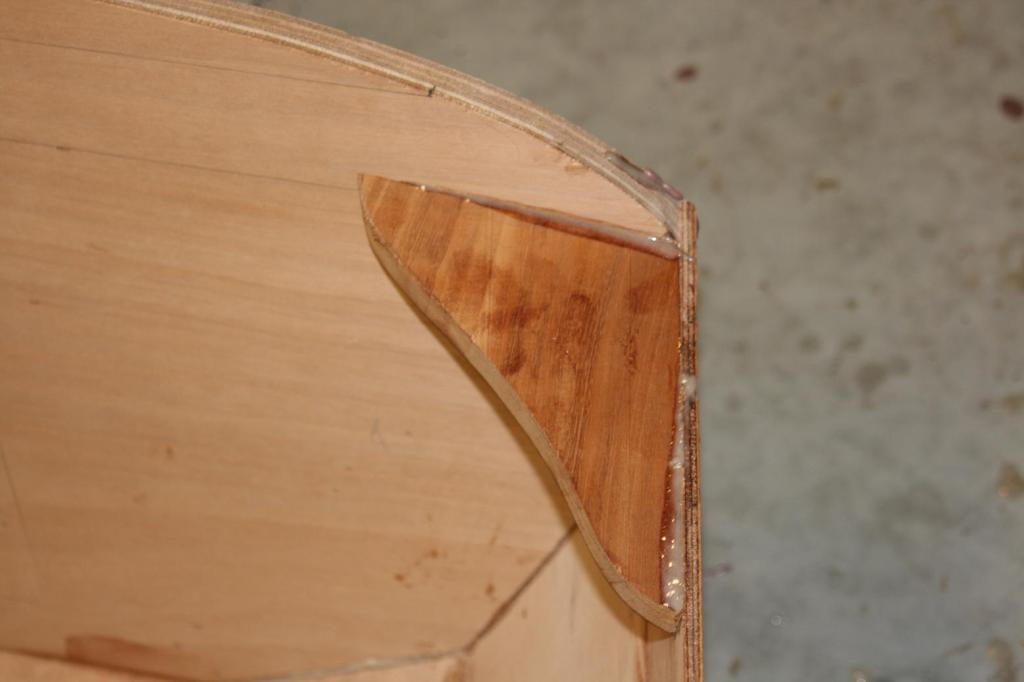
Next we add the quarter knees, pieces of timber inserted at each corner of the two transoms (bow and stern). These serve to add considerable structural strength to the little boat. Obtaining the correct bevel angles was somewhat challenging, in the end I only obtained them through a process of successive approximations.

Then we add the rubrail, which will later be covered with a shock-absorbing-topside-friendly foam and canvas rail. But underneath is a 3/4″ square strip of ash (which is what I had on hand at the time, the plans call for fir I think). This also will add a good deal of structural strength. Both the quarter knees and rubrail are attached with bronze screws and epoxy.

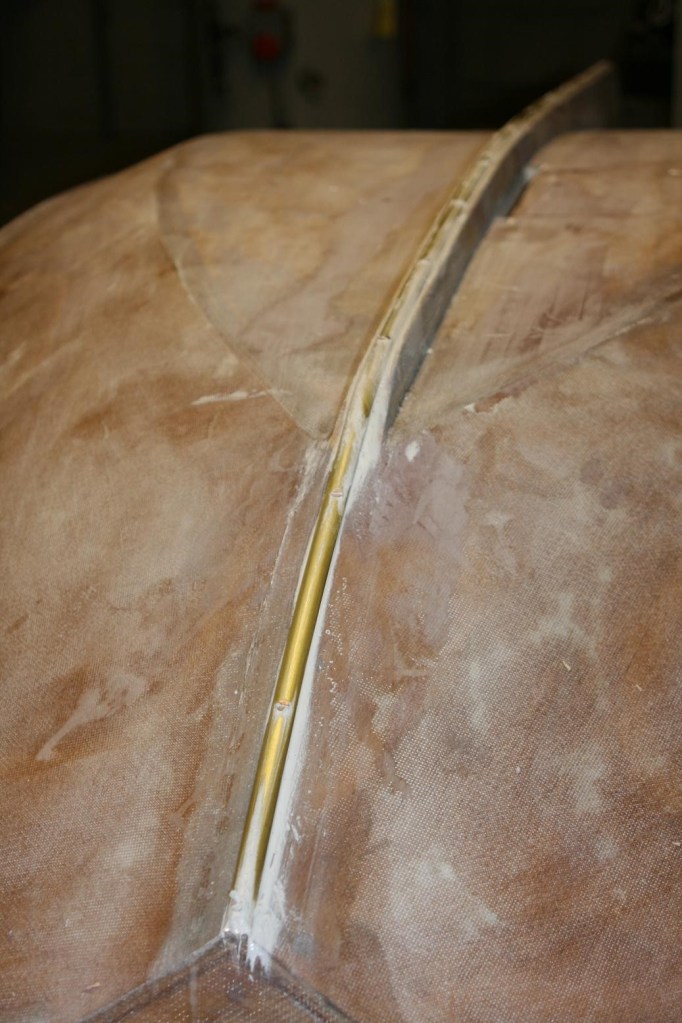
Getting there … we now turn the boat back upside down in order to add the keel. But first the entire hull (up to the sheer strake) is sheathed with 10 oz. fiberglass roving and West System epoxy.

I used ash for the keel. Notice how it is tapered aft as well as vertically. The keel is bedded with 3M 5200, fastened with wood screws from the inside:

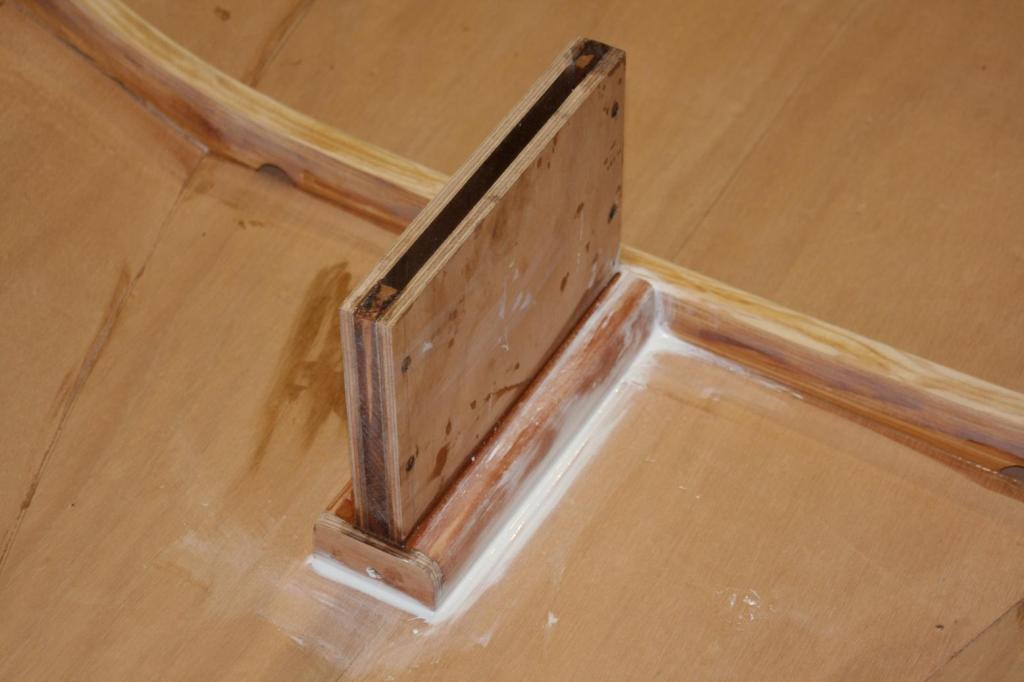
Since this is a sailing dinghy, we have to construct the dagger board trunk. The trunk will also serve as a support for the middle rowing bench. As with the keel, it will be bedded and sealed with 3M 5200.


The three seats for the dinghy I made out of mahogany and varnished them because varnish looks nice, but that does add weight and work so you may wish to follow the plans and use cedar and paint. The spars for the sailing rig I made out of sitka spruce. I purchased the oars ready made, as well as the tan sail (from the woodenboatstore). Here’s the rowing version of the completed dinghy:

And with the sail she’s even more irresistible:

So have fun, these are great dinghies. If you are new to boatbuilding just remember Moitessier’s motto: “the work will teach you the work”.
Sadly, I have built two of these tenders for Ruth Avery and both of them have ended up in landfills. And both died by the same cause: reckless powerboat drivers. So I now have an 8′ Fatty Knees dinghy which I like very much. It is heavier than the Nutshell which makes stowage more difficult (overturned on the foredeck), but has considerably more volume and is more stable. It’s all a tradeoff. But the Nutshell Pram in my experience is a better tradeoff than most.


